

For Doers who are venturing into electronic projects, the first printed circuit board is practically a rite of passage. The earliest, simplest designs can be improvised with wires, alligator claws, protoboards, and terminal bridges. The important thing is to do and any gambiarra is allowed! At some point, however, we will inevitably try a more elaborate project, a permanent installation, or a project that needs to be more compact. For Doers in this situation, here are some tips on how to make your first PCB at home today. For the printed circuits assembly this is important now.
How it works
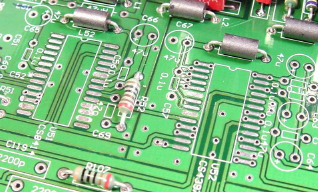
Printed circuit boards, or PCBs, are made from a non-conductive base such as phenolate or fiberglass and covered by a copper layer, which is an excellent conductor. During plate preparation, all copper except the one that will make the component connections is removed. That is, it is a subtractive process.
In a nutshell, the thing goes something like this: the plate design is drawn on the copper layer using a resistant substance. This can be done with a special pen, by transferring some resistant material to the plate or even by using a photographic process that “prints” on the plate the design of what should be preserved in the corrosion process. The plate, already with the mask applied, is then dipped in a bath in a corrosive substance that will corrode unprotected copper and leave only the covered areas. Protected areas are unaffected, leaving the necessary trails on the board. Then just wash remove the protective layer left on the copper, wash, drill and use.
Walkthrough: Making Printed Circuit Boards
Now that you understand the theory, let’s get to it. How to do this at home without expensive equipment? The good news is that with very little investment and a little practice you’ll be able to make simple boards very quickly in your home. And this is exactly what you will see here at Makers in this step by step guide on how to make printed circuit boards in your home.
In this post we will focus on the most manual process possible, as it has the least requirements and can be done by anyone. In this case the diagram drawing on the board will be done manually with an appropriate pen.
If you have questions about any steps in the process, take a look at the photo gallery at the beginning of the article. There I put several photos with details of each step. And don’t forget that you can exchange ideas on how to make PCBs with other Doers in our forum. Here are some hot topics there:
How to make PCBs with laser printers also created
But now, enough talk and come on…

Bill of Materials
Before you get started it is critical to have all the material you will need for the process. See our list:
Blank Printed Circuit Board: It should be cut to size as needed for your project. Your card can be phenolate or fiberglass and you find it in almost every electronics store. If the board comes larger than you need, you can easily cut it with a Dremel, a slab or a sharp nail, but have a little patience to make sure everything goes well.